วิธีการ Assign Users by Products ใน Autodesk Account User Management
Assign Users by Products:
Sign in ด้วย Primary หรือ Secondary admin ที่ manage.autodesk.com
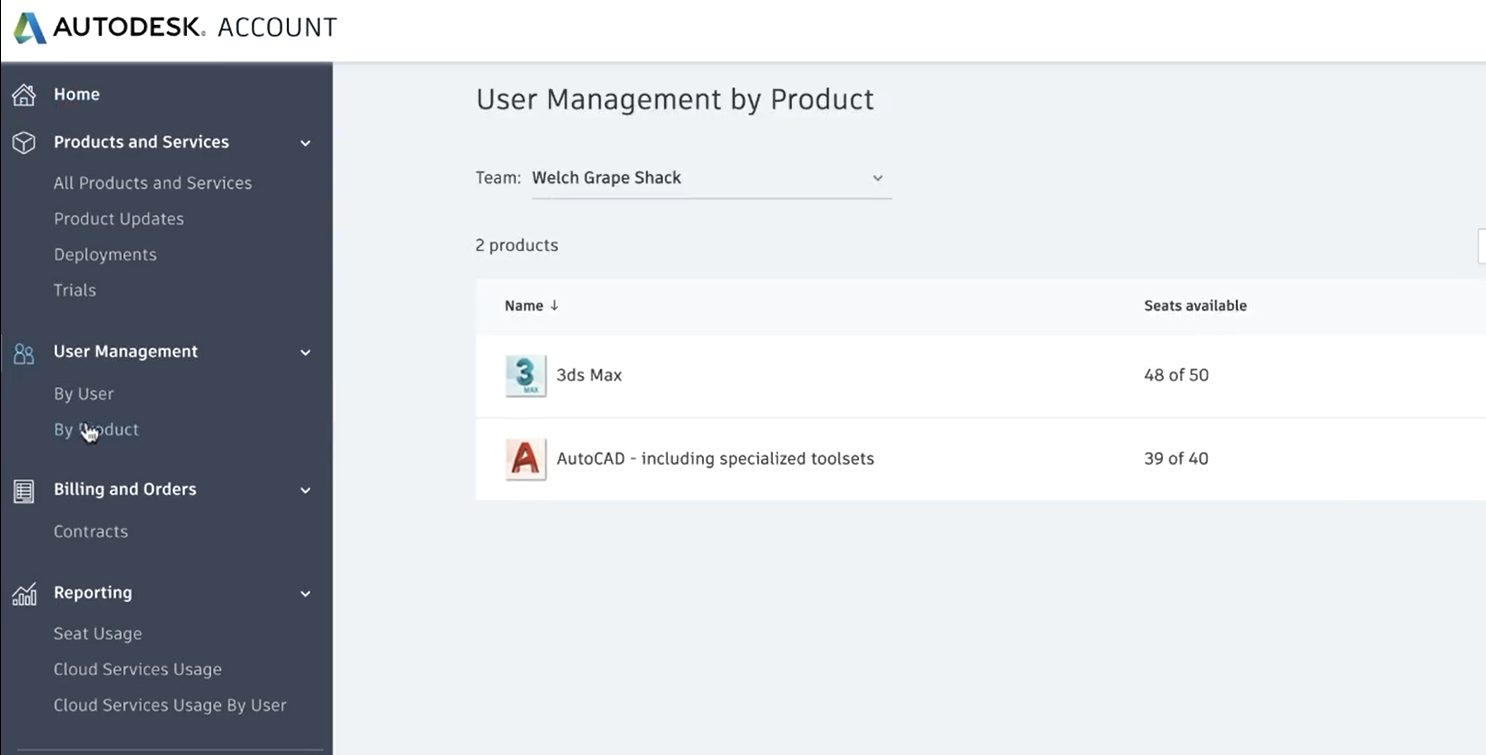
ที่ด้านซ้ายของหน้าจอไปที่เมนู User Management เลือก By Product
ถ้าใช้งานแบบ Classic User Management ให้ Click Assign products and services
3. เลือก Product ที่ต้องการ Assign

4. Click Assign users.

4.1 ในกรอบด้านล่างข้อความ : “You can assign 1 more user to this product”
ให้พิมพ์ข้อมูล User ที่ต้องการ
รูปแบบ: Name, Surname, Email
ถ้าต้องการ Assign 2 User ขึ้นไป ใช้รูปแบบ: Name, Surname, Email; Name, Surname, Email

4.2 Users will have access to:
All Include Items : สามารถใช้งานได้ทุก services
หรือคลิก Customize เพื่อกำหนดค่าด้วยตัวเอง

เสร็จแล้วคลิก Assign
6. ทำการส่ง Invite User, คลิก Done

User จะได้รับอีเมล์ Invitation เพื่อรับสิทธิ์การใช้งาน Autodesk Product
สามารถกด Accept และ Login เข้าไป Download Product เพื่อติดตั้งใช้งาน
ถ้าไม่ กด Accept invitation ภายใน 7 วัน Primary หรือ Secondary admin ต้อง Resend the invitation.