1. System Requirements
| Expand | ||
|---|---|---|
| ||
Minimum System requirements :
Port/Proxy :
Export to HTML - Recommended Browser. :
Export to document - Recommended Document :
|
2. Installation
| Expand | ||
|---|---|---|
| ||
To download Justinmind :
|


3. Licensing
| Expand | ||
|---|---|---|
| ||
3.1 Using JUSTINMIND IDOpen email form Justinmind for register.
|
| Expand | ||
|---|---|---|
| ||
3.2 Offline ActivationTo activate manually:
|
4. Managing Licenses-User
| Expand | ||
|---|---|---|
| ||
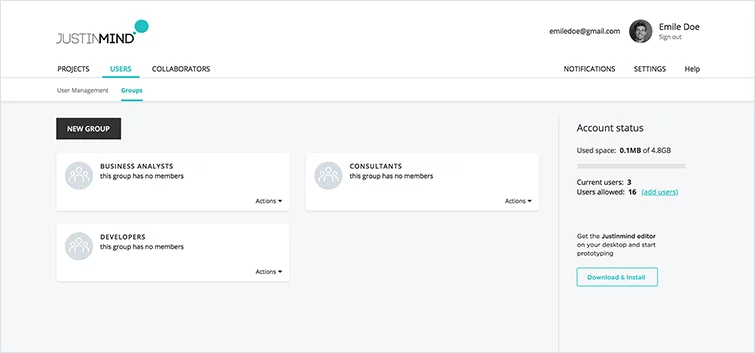
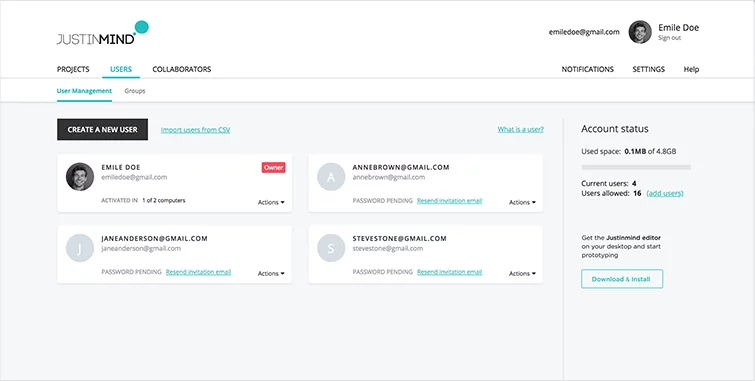
4.1 Add New UsersAccount owner, can assign prototyping users to your account and create groups of users.
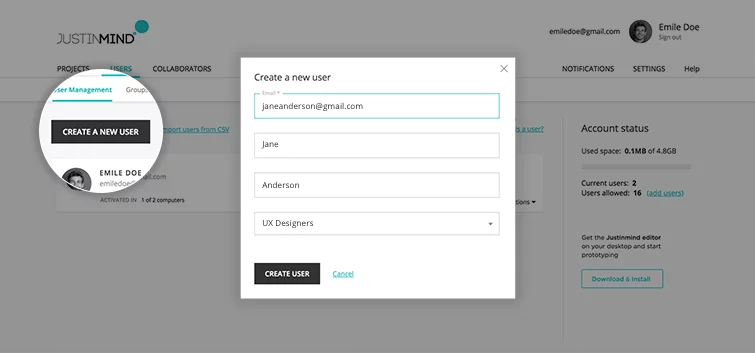 4. When creating the user, you can add them to a group if you already have one created. To do so, select a user group from the “Select a group” drop-down. When you create a new user, they will receive an activation email. 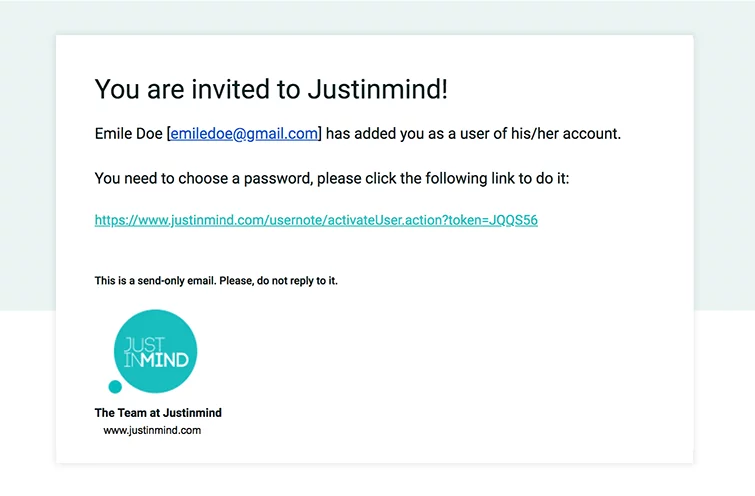 Once they click on the user activation link in the email, they will able to start prototyping with Justinmind. As Account owner, you will find a card with an overview of each user profile in the User Management sub-tab. From the Actions drop-down in the bottom right-hand corner of each card, you can modify the user’s permissions or remove them from your account. 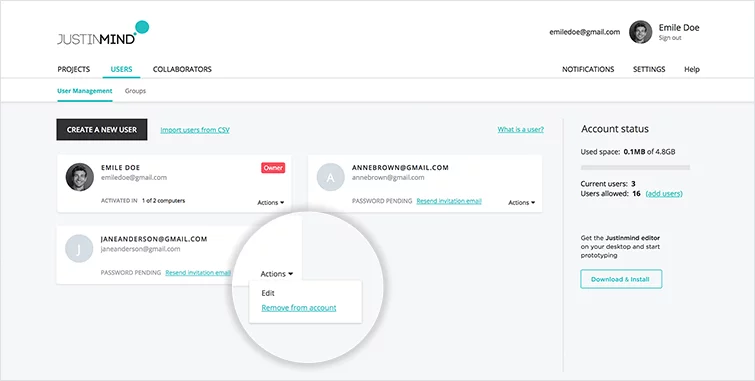  |
| Expand | ||||||||||||||||||||||||||||||||||||||||||
|---|---|---|---|---|---|---|---|---|---|---|---|---|---|---|---|---|---|---|---|---|---|---|---|---|---|---|---|---|---|---|---|---|---|---|---|---|---|---|---|---|---|---|
| ||||||||||||||||||||||||||||||||||||||||||
4.2 Add New Groups and User to Groups
 To create a new group, click the “New group” button. In the dialog that appears, give the group a name and click “Create group”. 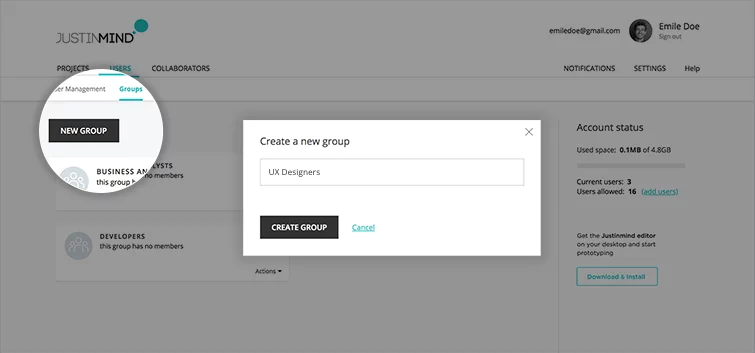 2. In the bottom right-hand corner of each group card, there is an Actions drop-down. Here, you can perform the following operations: 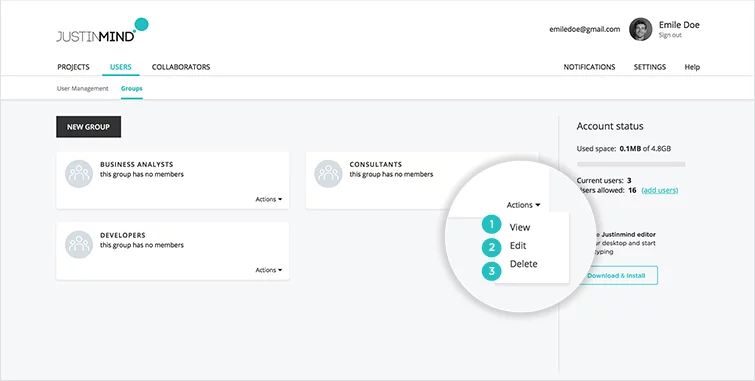
Back in the screen, you’ll find the cards of the users you have added to this group.
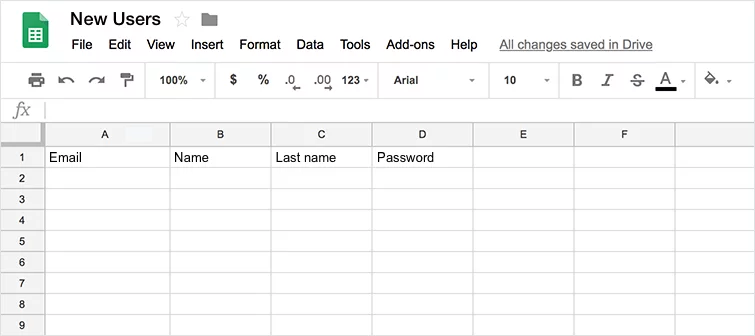
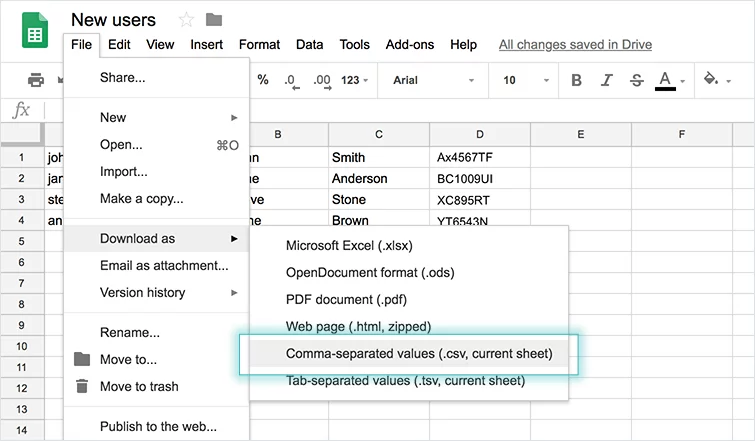
Click the “Select file” button, choose your .csv file containing the user contact details and click the “Import users” button. 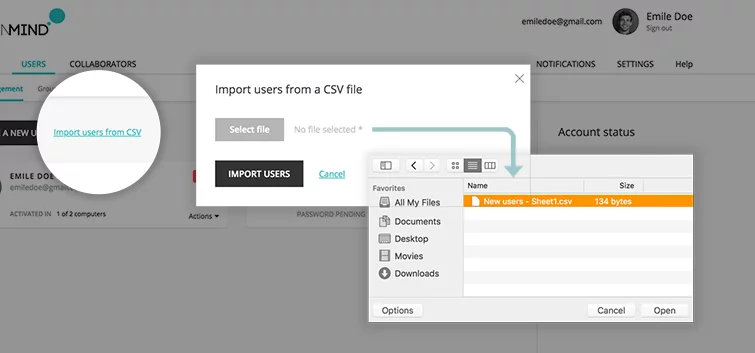
 |
| Expand | ||
|---|---|---|
| ||
4.3 Remove User Form GroupIf you want to remove a user from a group, go to the Actions drop-down in the right-hand corner of that user’s card within the Groups sub-tab and select “Remove from group”. 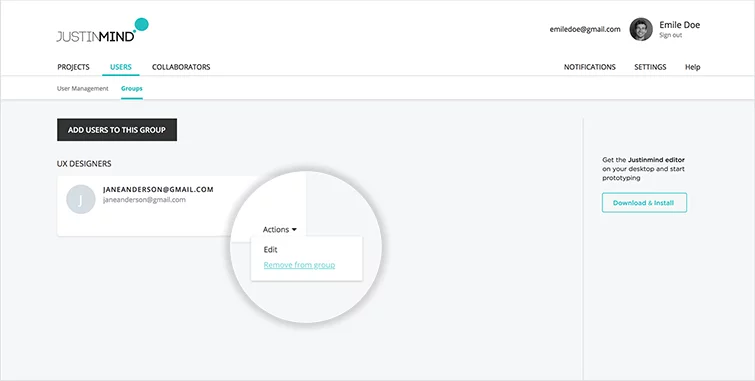 |
| Expand | ||
|---|---|---|
| ||
4.4 Install and use Justinmind on a maximumEach user can install and use Justinmind on a maximum of two computers at one time. If you want to use it on a third computer, you need to sign out from one of the two computers you’re already logged into. 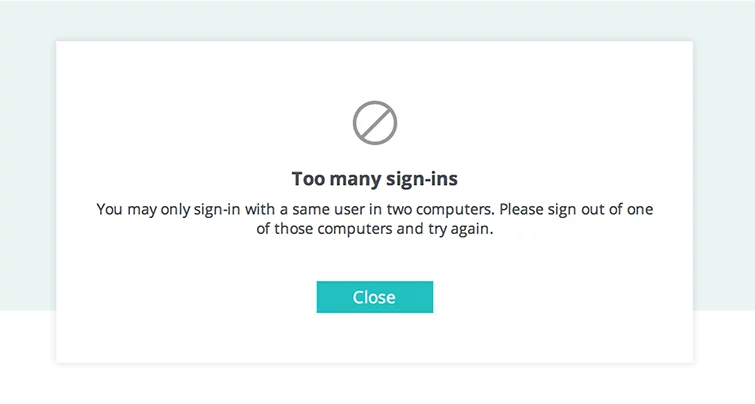 |
| Expand | ||
|---|---|---|
| ||
4.5 Connection error messageIf you’re working under a proxy connection, it might be blocking the internet connection. If this is the case, you should configure the proxy settings in the Settings link at the bottom of the Sign in dialog. Otherwise, you can try to activate the product via browser, by clicking on the corresponding link in the pop up. |
5. Managing Licenses -Admin&Owner
| Expand | ||
|---|---|---|
| ||
5.1 Transfer ownership from one account to another
|
| Expand | ||
|---|---|---|
| ||
5.2 Delete the user from the Company accountThe account owner can delete the user from the account.
|
Support Chanel:
Help Center : Sign in to JustinmiSupport Pond Customrtal