| Info |
|---|
These pages cover SQL Compare 12, which is not the latest version. Help for other versions is also available. |
1. System Requirements
| Expand | ||
|---|---|---|
| ||
1.1 Supported Platforms :
|
| Expand | ||
|---|---|---|
| ||
1.2 Around firewallsIf you aren’t receiving email updates from Redgate for licensing and authentication, this can sometimes be caused by the configuration of your email servers. Whitelisting can help our emails get around firewalls and third-party tools designed to filter out emails. We recommend that you use the DNS names instead of the IPs as we don't guarantee to keep them constant. The exact steps to follow will depend on your email server configuration and any additional spam protection software your organisation has in place, but these are the details your IT team will need to whitelist our emails:
The full list of endpoints relating to licensing: The locally (to you) hosted endpoints for the Redgate Client service are ports 22221 - 22223 by default (e.g. 127.0.0.1:22221) |
| Expand | ||||||||||||
|---|---|---|---|---|---|---|---|---|---|---|---|---|
| ||||||||||||
1.3 Permissions required :
Deploying:For deployments, we recommend using the Exactly which permissions you need depends on the objects in your databases, and what you're deploying. You can't deploy objects that are encrypted, if they're encrypted in the source. Permissions issues:If you don't have the right permissions:
|
2. Installation
| Expand | ||
|---|---|---|
| ||
There are several ways to find the installers you need for your Redgate tools:
 2. Run the installer and follow the instructions. |
3. Licensing
| Expand | ||
|---|---|---|
| ||
3.1 Manual activationTo activate manually:
You can use manual activation when an error is shown and the Activate Manually button is available. |
| Expand | ||
|---|---|---|
| ||
3.2 Using the user interface
|
| Expand | ||
|---|---|---|
| ||
3.3 Using Redgate IDIn the past, Redgate products could be activated using just a serial number. In order to make it easier for you to manage your licenses and know who’s using a product, activation in most of Redgate's desktop tools now also requires users to log in with their Redgate ID. The following does not apply to server-based tools such as SQL Monitor, SQL Back Up.
If you are getting the message that you have run out of entitlements, you might not have logged in. On the toolbar of the tool, click on Help>Manage license and you'll see here if you're logged in: 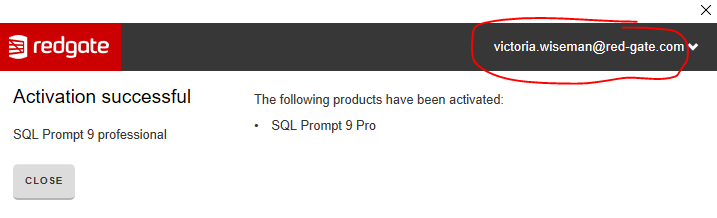 |
| Expand | ||
|---|---|---|
| ||
Unable to connect to the Redgate Client Service when activating To restart the Redgate Client Service open your Services console (Control Panel > Admin Tools > Services), select Redgate Client in the list of services and click Start. If this doesn't resolve the problem please send the latest Redgate Client Logs which can be found in C:\ProgramData\Red Gate\Shared Client\Log to Redgate support. |
| Expand | ||
|---|---|---|
| ||
3.4 Removing A User (Freeing Up A License/Entitlement)If you are getting the activation error 'Failed to activate the license: All of the x entitlements for serial xxx-xxx-xxxxxx-xxxx have already been claimed' you may not be logged in. On the toolbar, click on Help>Manage license and you'll see here if you're logged in. If you are logging in with the same Redgate ID each time then you will be able to activate on as many machines as you need without running out of entitlements. If you're not logging in with your Redgate ID, you have changed your email address or other people are using the license you may get a message saying that there aren't enough entitlements left on the license. If this happens you will need to log in to the customer portal and remove an old activation: 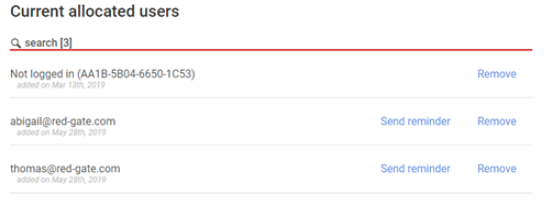 |
| Expand | ||
|---|---|---|
| ||
3.5 Moving A License To A Different MachineThere is no longer the need to deactivate your license to move it to another machine. If you're logging in with the same Redgate ID each time you install your license on a machine then you will never run out of activations as this only uses one entitlement. If an additional user activates the same license, using their Redgate ID, this will consume another entitlement. If you're having problems activating your license on a new machine it could be that you haven't logged in with your Redgate ID or that the ID doesn't match the one previously used. You may need to log in to the customer portal and free up an activation by removing an old user or removing the entitlement assigned to the wrong Redgate ID. You will need to contact the license owner if you can't see the license in the portal. |
4. Managing Licenses-User
| Expand | ||
|---|---|---|
| ||
4.1 Managing usersIf you are a license owner or license admin, when you click on the Manage cog on the summary page you’ll see the detailed view for that product. In the left section you will find a summary of your license and how it is currently being used. To the right is the Current allocated users section where you can invite and manage the allocated users of the license. Email addresses will be shown for users of the license who logged in with a Redgate ID or who were invited to use the license by an admin or owner. 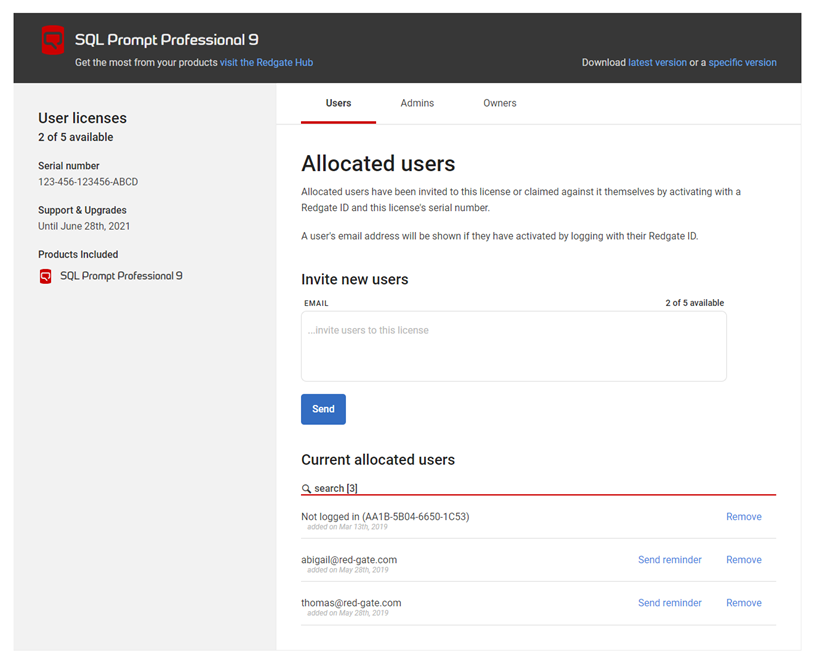 |
| Expand | ||
|---|---|---|
| ||
4.2 Inviting a userIn the past Redgate products could be activated using just a serial number. In order to make it easier for you to manage your licenses and know who’s using a product, activation in most of Redgate's desktop products now also requires users to log in with their Redgate ID. To invite a user to use this product license, enter their email address in the email field and click Send. They’ll receive an email saying they’ve been invited to use a product. You can also enter multiple email addresses to invite more than one user at a time. The email includes a link which, when clicked, takes them either to a page where they can create a Redgate ID (if they don’t already have one), or to the Redgate ID login page. Once they’ve logged in, they’ll be taken to the product summary view in My Products, where they can get the serial number which is needed to activate the product. You can invite as many users as you have licenses for the product. When you’ve reached the maximum number of invitations, you’ll see the message All licenses are currently in use above the list of allocated users, and the invitation functionality will be unavailable. In this scenario, you must first remove one of the existing allocated users before you can invite another user. |
| Expand | ||
|---|---|---|
| ||
4.2 Creating a Redgate ID If you don’t already have a Redgate ID, you can create one:
You can now log in to your account. |
| Expand | ||
|---|---|---|
| ||
4.3 Deactivating a user To remove an allocated user, click on the Remove button alongside their details in the list. Then confirm the removal by clicking the subsequently displayed Remove button to deactivate them. A message will be displayed confirming that the user has been removed. This has the same effect as someone deactivating the product on their computer. 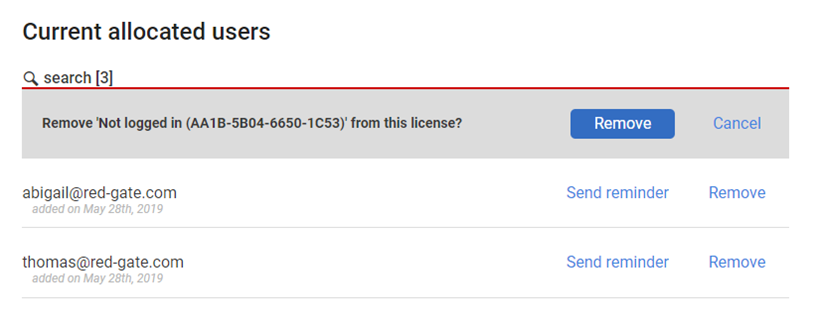 |
| Expand | ||
|---|---|---|
| ||
4.4 Migrating from anonymous to identified usersIf you’ve been using Redgate products for a long time and have purchased multiple licenses, there’ll be a number of people using those products anonymously - labelled as Not logged in. This makes it hard to know exactly who is using which product, which can be a problem if you’re responsible for tracking license usage in your organisation. User account licensing makes it possible to track allocated users for most Redgate products. The recommended way to transition an anonymous user to an allocated user is similar for bundle licenses and single-product licenses:
The user is only required to log in with their Redgate ID once on each computer, either through installing a product for the first time, or updating an existing product as described above. |
5. Managing Licenses -Admin&Owner
| Expand | ||
|---|---|---|
| ||
If you are a license owner, to add an administrator click Admins and enter the Redgate ID of the person(s) you wish to associate as admin of the license in the box under Add new license admins and click Send. A license admin can see license information as well as add and remove users from a license. 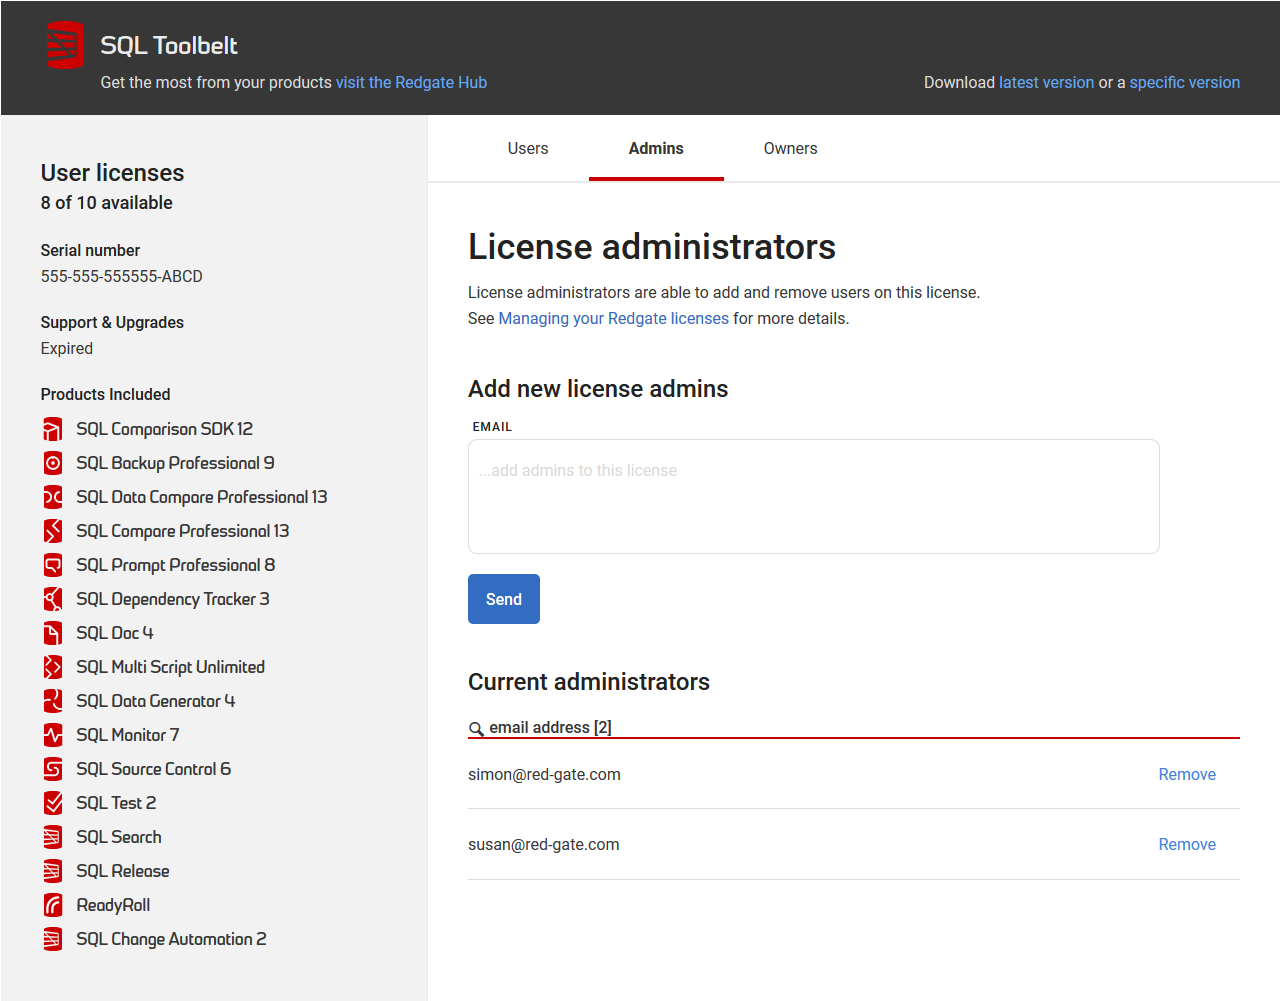 Similarly, license owners can be managed using the Owners tab. Only a license owner can invite and remove other owners and admins on a license as well as managing allocated users. License admins and owners do not consume a license activation unless they have also been invited to be a license user. |
| Expand | ||
|---|---|---|
| ||
Inviting and removing license admins To invite a person to be a license admin, enter their email address in the input field and click Send. That person will need to log on to the Redgate website with their Redgate ID. If they don't already have a Redgate ID, they can create one using the email address that was used to invite them. See more information about creating and using a Redgate ID . You can also enter multiple email addresses to invite more than one license admin at a time. To remove a person's license admin rights, click on the Remove button alongside their details in the list. Then confirm the removal by clicking the subsequently displayed Remove button to remove them. |
| Expand | ||
|---|---|---|
| ||
Submitting a license owner request If you would like to request to become a license owner, in the customer portal, on the My Products page click on add existing license and enter the serial key of the license you wish to become owner of.  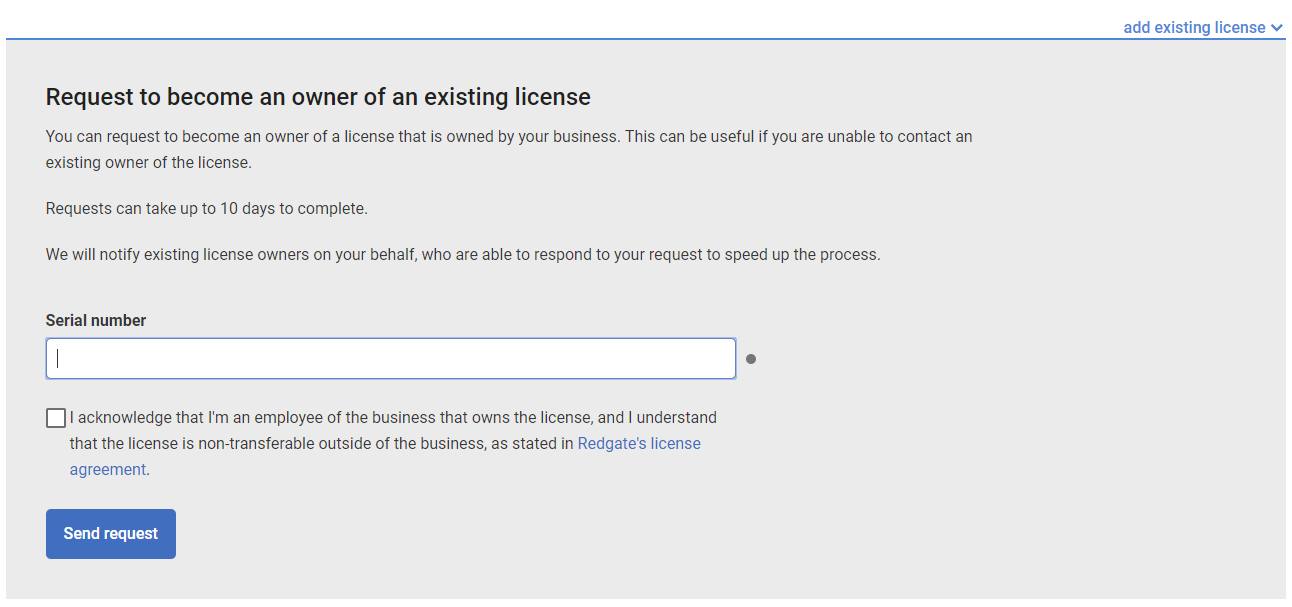 An email will be sent to any existing owners of the license asking them to accept or reject your request. When the existing owner has accepted you will become an owner and will be able to see the license in your account. In some instances, the existing owner may have left the company, when this is the case, if there are no other license owners to accept your request, the request will pend for 10 days and then automatically accept. If you are unable to wait 10 days, please Contact Support. |
Support Chanel:
For product-related issues : Submit a Request
For any security issues : Please report them via this page.